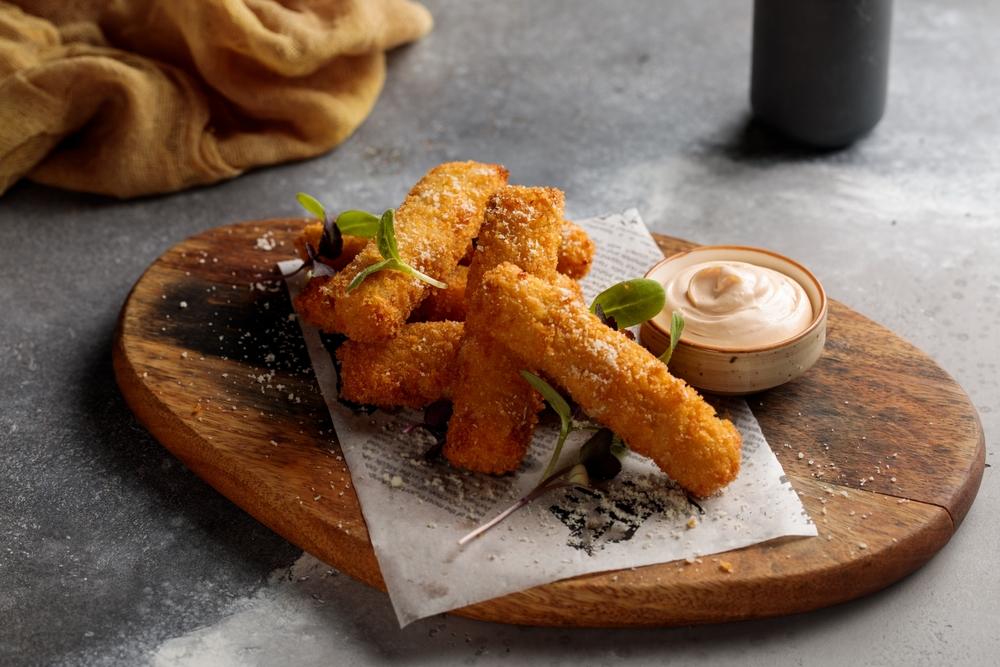
Gluten-Free Garlic Sticks: A Guide to Making Them

If you follow a gluten-free diet, you might think delicious baked goods like garlic sticks are off-limits. However, with the right ingredients and techniques, you can enjoy crispy, flavorful garlic sticks without compromising your dietary needs. These gluten-free treats are perfect as a snack, appetizer, or complement to pasta or soup.
In this guide, you'll learn how to make gluten-free garlic sticks from scratch. We'll cover the essential ingredients, step-by-step instructions, and some helpful tips to ensure they turn out golden and delicious. Plus, we’ll explore variations like garlic bread sticks and garlic cheese sticks to elevate your recipe even further.
Why Choose Gluten-Free Garlic Sticks?
Gluten-free diets have become more popular due to gluten intolerance, celiac disease, or simply the desire for a healthier lifestyle. Fortunately, gluten-free baking has come a long way, allowing you to recreate your favorite baked goods without sacrificing taste or texture.
Garlic sticks are a beloved favorite for their irresistible combination of crunch and flavor. The gluten-free version ensures that everyone at the table can enjoy this savory delight. Whether you're hosting guests or making a quick snack, these garlic sticks are sure to impress.
Ingredients You’ll Need
Before you start baking, gather the following ingredients. These simple components come together to create a batch of irresistible gluten-free garlic sticks:
-
- 1 ½ cups gluten-free all-purpose flour (ensure it contains xanthan gum for elasticity)
- 1 teaspoon baking powder
- ½ teaspoon salt
- 1 teaspoon garlic powder
- 2 tablespoons olive oil
- ½ cup warm water
- 2 tablespoons butter (melted)
- 2 cloves garlic (minced)
- Fresh parsley (chopped)
- Grated Parmesan cheese (optional)
For those who prefer cheesy variations, you can add mozzarella or cheddar to create garlic cheese sticks.
Step-by-Step Instructions
Follow these easy steps to make your gluten-free garlic sticks:
1. Prepare the Dough
In a mixing bowl, combine the gluten-free flour, baking powder, salt, and garlic powder. Mix the dry ingredients well to ensure even distribution. Add the olive oil and warm water gradually, stirring with a spoon until the dough starts to come together.
2. Knead the Dough
Once the dough forms, transfer it to a clean surface lightly dusted with gluten-free flour. Knead it gently for about 3 to 5 minutes until it becomes smooth and pliable. If the dough feels too dry, add a tablespoon of water at a time until it reaches the right consistency.
3. Shape the Garlic Sticks
Divide the dough into small, equal portions and roll each piece into a stick shape. Aim for a length of about 6 inches and a thickness similar to a pencil. Place the shaped dough on a baking sheet lined with parchment paper, leaving a small gap between each stick.
4. Prepare the Garlic Butter
In a small bowl, mix the melted butter and minced garlic. Brush this mixture generously over the prepared dough sticks. For added flavor, sprinkle chopped parsley and Parmesan cheese on top.
5. Bake to Perfection
Preheat your oven to 375°F (190°C). Bake the garlic sticks for 12 to 15 minutes or until they turn golden brown. Keep an eye on them during the last few minutes to avoid overbaking.
6. Cool and Serve
Remove the garlic sticks from the oven and let them cool slightly before serving. They taste best when warm and fresh out of the oven. Serve them with marinara sauce or your favorite dip for an extra burst of flavor.
Tips for Perfect Gluten-Free Garlic Sticks
Making gluten-free baked goods can be tricky, but these tips will help you achieve the best results:
-
- Choose the Right Flour: Not all gluten-free flours are the same. Use a blend that includes xanthan gum or guar gum to mimic the elasticity of traditional dough.
- Don’t Overmix: Gluten-free dough can become tough if overworked. Mix until just combined to keep the sticks light and tender.
- Use Fresh Garlic: Freshly minced garlic enhances the flavor far more than garlic powder alone. Combine both for a more robust taste.
- Experiment with Toppings: Customize your garlic sticks with sesame seeds, red pepper flakes, or dried herbs for added variety.
Variations to Try
If you want to switch things up, try these delicious variations:
1. Garlic Bread Sticks
For a classic twist, transform your garlic sticks into garlic bread sticks. Use the same dough but roll it thicker and bake for a few extra minutes. These breadsticks pair beautifully with pasta or soup.
2. Garlic Cheese Sticks
To make garlic cheese sticks, add shredded mozzarella or cheddar cheese on top before baking. The melted cheese creates a gooey, savory snack that's perfect for any cheese lover.
Serving Suggestions
Garlic sticks are incredibly versatile and can be served in various ways:
-
- As an Appetizer: Serve them with marinara, ranch, or garlic aioli for dipping.
- With Pasta: Pair them with a hearty bowl of spaghetti or fettuccine alfredo.
- With Soup: They make an excellent accompaniment to tomato soup or minestrone.
Conclusion
Gluten-free garlic sticks prove that dietary restrictions don't have to mean sacrificing flavor. With simple ingredients and easy-to-follow steps, you can create a batch of crispy, golden, and delicious garlic sticks that everyone will enjoy. Whether you're making classic garlic bread sticks or indulgent garlic cheese sticks, these recipes will quickly become a favorite in your household.
- Art
- Causes
- Crafts
- Dance
- Drinks
- Film
- Fitness
- Food
- Juegos
- Gardening
- Health
- Home
- Literature
- Music
- Networking
- Other
- Party
- Religion
- Shopping
- Sports
- Theater
- Wellness


