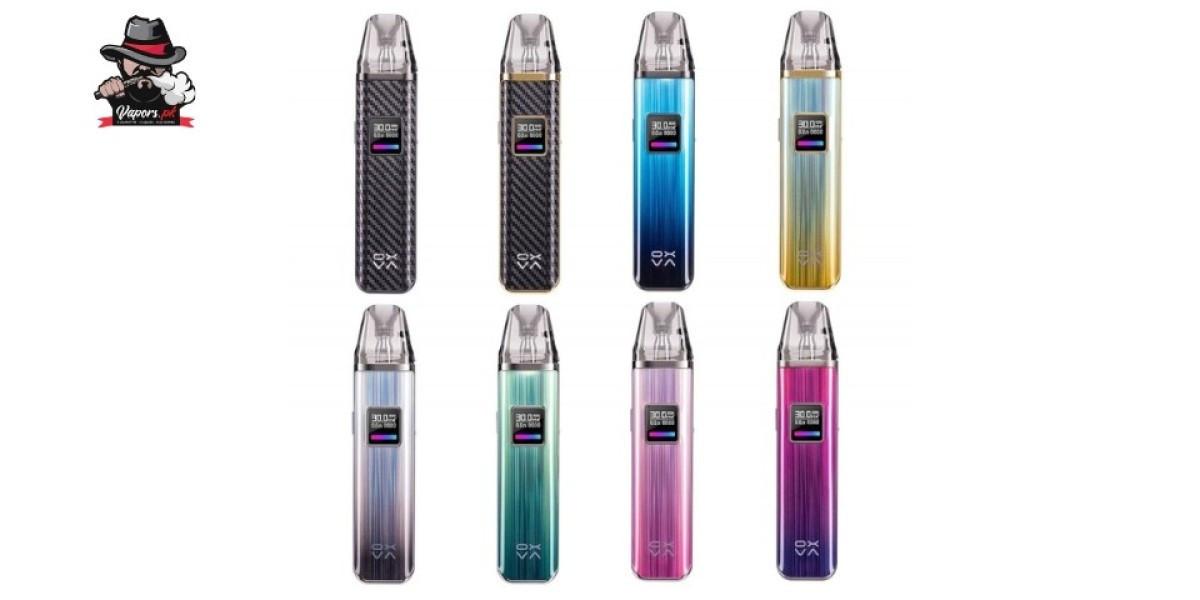
Steps of Vaping with Oxva Xlim Pro

The Oxva Xlim Pro is a cutting-edge pod system designed to deliver a smooth and satisfying vaping experience. With its sleek design, intuitive features, and versatile performance, the Xlim Pro is perfect for both beginner and experienced vapers alike. In this comprehensive guide, we’ll walk you through the step-by-step process of vaping with the Oxva Xlim Pro, from setup to maintenance, to ensure that you get the most out of your vaping device.
Unboxing and Setup
1. Unboxing
Start by unboxing your Oxva Xlim Pro kit. Inside the box, you’ll find the Xlim Pro device, refillable pods, coils, a USB charging cable, and any other accessories included with your kit.
2. Charging
Before using your Xlim Pro for the first time, ensure that it is fully charged. Connect the USB charging cable to the device and plug it into a compatible power source. Once fully charged, the light will turn off.
Filling the Pod
1. Remove the Pod
To fill the pod, first, remove it from the Xlim Pro device by gently pulling it out from the top.
2. Fill with E-Liquid
Locate the fill port on the side of the pod and open it. Fill the pod with your favorite e-liquid, taking care not to overfill. Once filled, close the fill port securely.
3. Prime the Coil (Optional)
If using a new coil, it’s recommended to prime it before vaping to ensure optimal flavor and coil longevity. Apply a few drops of e-liquid directly onto the coil’s cotton wick and allow it to soak in for a few minutes.
4. Reinsert the Pod
Once the pod is filled and the coil is primed (if necessary), reinsert it into the Xlim Pro device until it clicks into place.
Adjusting Settings
1. Power On/Off
To power on the Oxva Xlim Pro, press the fire button five times rapidly.
2. Wattage Adjustment
The Xlim Pro features adjustable wattage settings to customize your vaping experience. Press the wattage adjustment button to cycle through the available wattage options. Choose the wattage that best suits your preferences and coil resistance.
3. Airflow Adjustment
Some versions of the Xlim Pro may feature adjustable airflow control. Rotate the airflow ring to adjust the airflow to your liking, whether you prefer a tighter or more airy draw.
Vaping
1. Prime the Coil
Before taking your first puff, it’s essential to prime the coil to ensure optimal flavor and vapor production. To prime the coil, take a few short puffs without pressing the fire button to draw e-liquid into the coil’s wick.
2. Press the Fire Button
Once the coil is primed, press the fire button while inhaling to activate the device and begin vaping. Take slow and steady draws to enjoy the full flavor and vapor production of your e-liquid.
3. Adjust Settings as Needed
Throughout your vaping session, you may choose to adjust the wattage or airflow settings to fine-tune your experience. Experiment with different settings to find the perfect balance of flavor, vapor, and throat hit.
Maintenance
1. Refilling the Pod
When the e-liquid level in the pod becomes low, refill it with your favorite e-liquid following the steps outlined earlier in this guide.
2. Replacing the Coil
Remove the old coil from the pod and insert a new one, ensuring that it is securely seated.
3. Cleaning the Device
Periodically clean the exterior of your Oxva Xlim Pro device with a soft, dry cloth to remove any dust or debris. Avoid using water or harsh cleaning agents, as these can damage the device.
Conclusion
Mastering vaping with the Oxva Xlim Pro is a straightforward process that begins with unboxing and setup and continues with filling the pod, adjusting settings, and enjoying your favorite e-liquids. By following the step-by-step guide outlined in this comprehensive overview, you’ll be well-equipped to get the most out of your Xlim Pro device and enjoy a satisfying vaping experience every time.
- Art
- Causes
- Crafts
- Dance
- Drinks
- Film
- Fitness
- Food
- Spiele
- Gardening
- Health
- Home
- Literature
- Music
- Networking
- Other
- Party
- Religion
- Shopping
- Sports
- Theater
- Wellness


