


Patrocinado
How To Use Bondcraftor Epoxy Resin?
Epoxy resin has become one of the most popular materials for creative projects, home improvements, and professional applications. Its strength, glossy finish, and versatility make it a favorite among hobbyists and artisans. If you are new to epoxy or want a trusted brand to work with, Bondcraftor offers some of the best solutions in the market. Many people search for Bond craftor epoxy resin because it combines high quality with ease of use. In this guide, you will learn step by step how to use Bondcraftor epoxy resin to create durable, beautiful results.
Why Choose Bondcraftor Epoxy Resin?
Before learning the process, it’s important to understand why Bondcraftor stands out. The brand is known for delivering resins that cure crystal clear, resist scratches, and last for years. Unlike generic alternatives, Bond craftor epoxy resin gives both beginners and professionals the confidence to pour, coat, and design without worry. Whether you are making jewelry, coating wood, or creating art, Bondcraftor products help you achieve a flawless, glossy finish.
Step 1: Prepare Your Workspace
Success with epoxy resin begins with preparation. Set up a clean, dust-free workspace with good ventilation. Cover your table with plastic or disposable sheets to protect surfaces. Gather all your tools, including mixing cups, sticks, gloves, and molds if needed. When working with Bond craftor epoxy resin, organization helps you avoid mistakes and focus on the creative process.
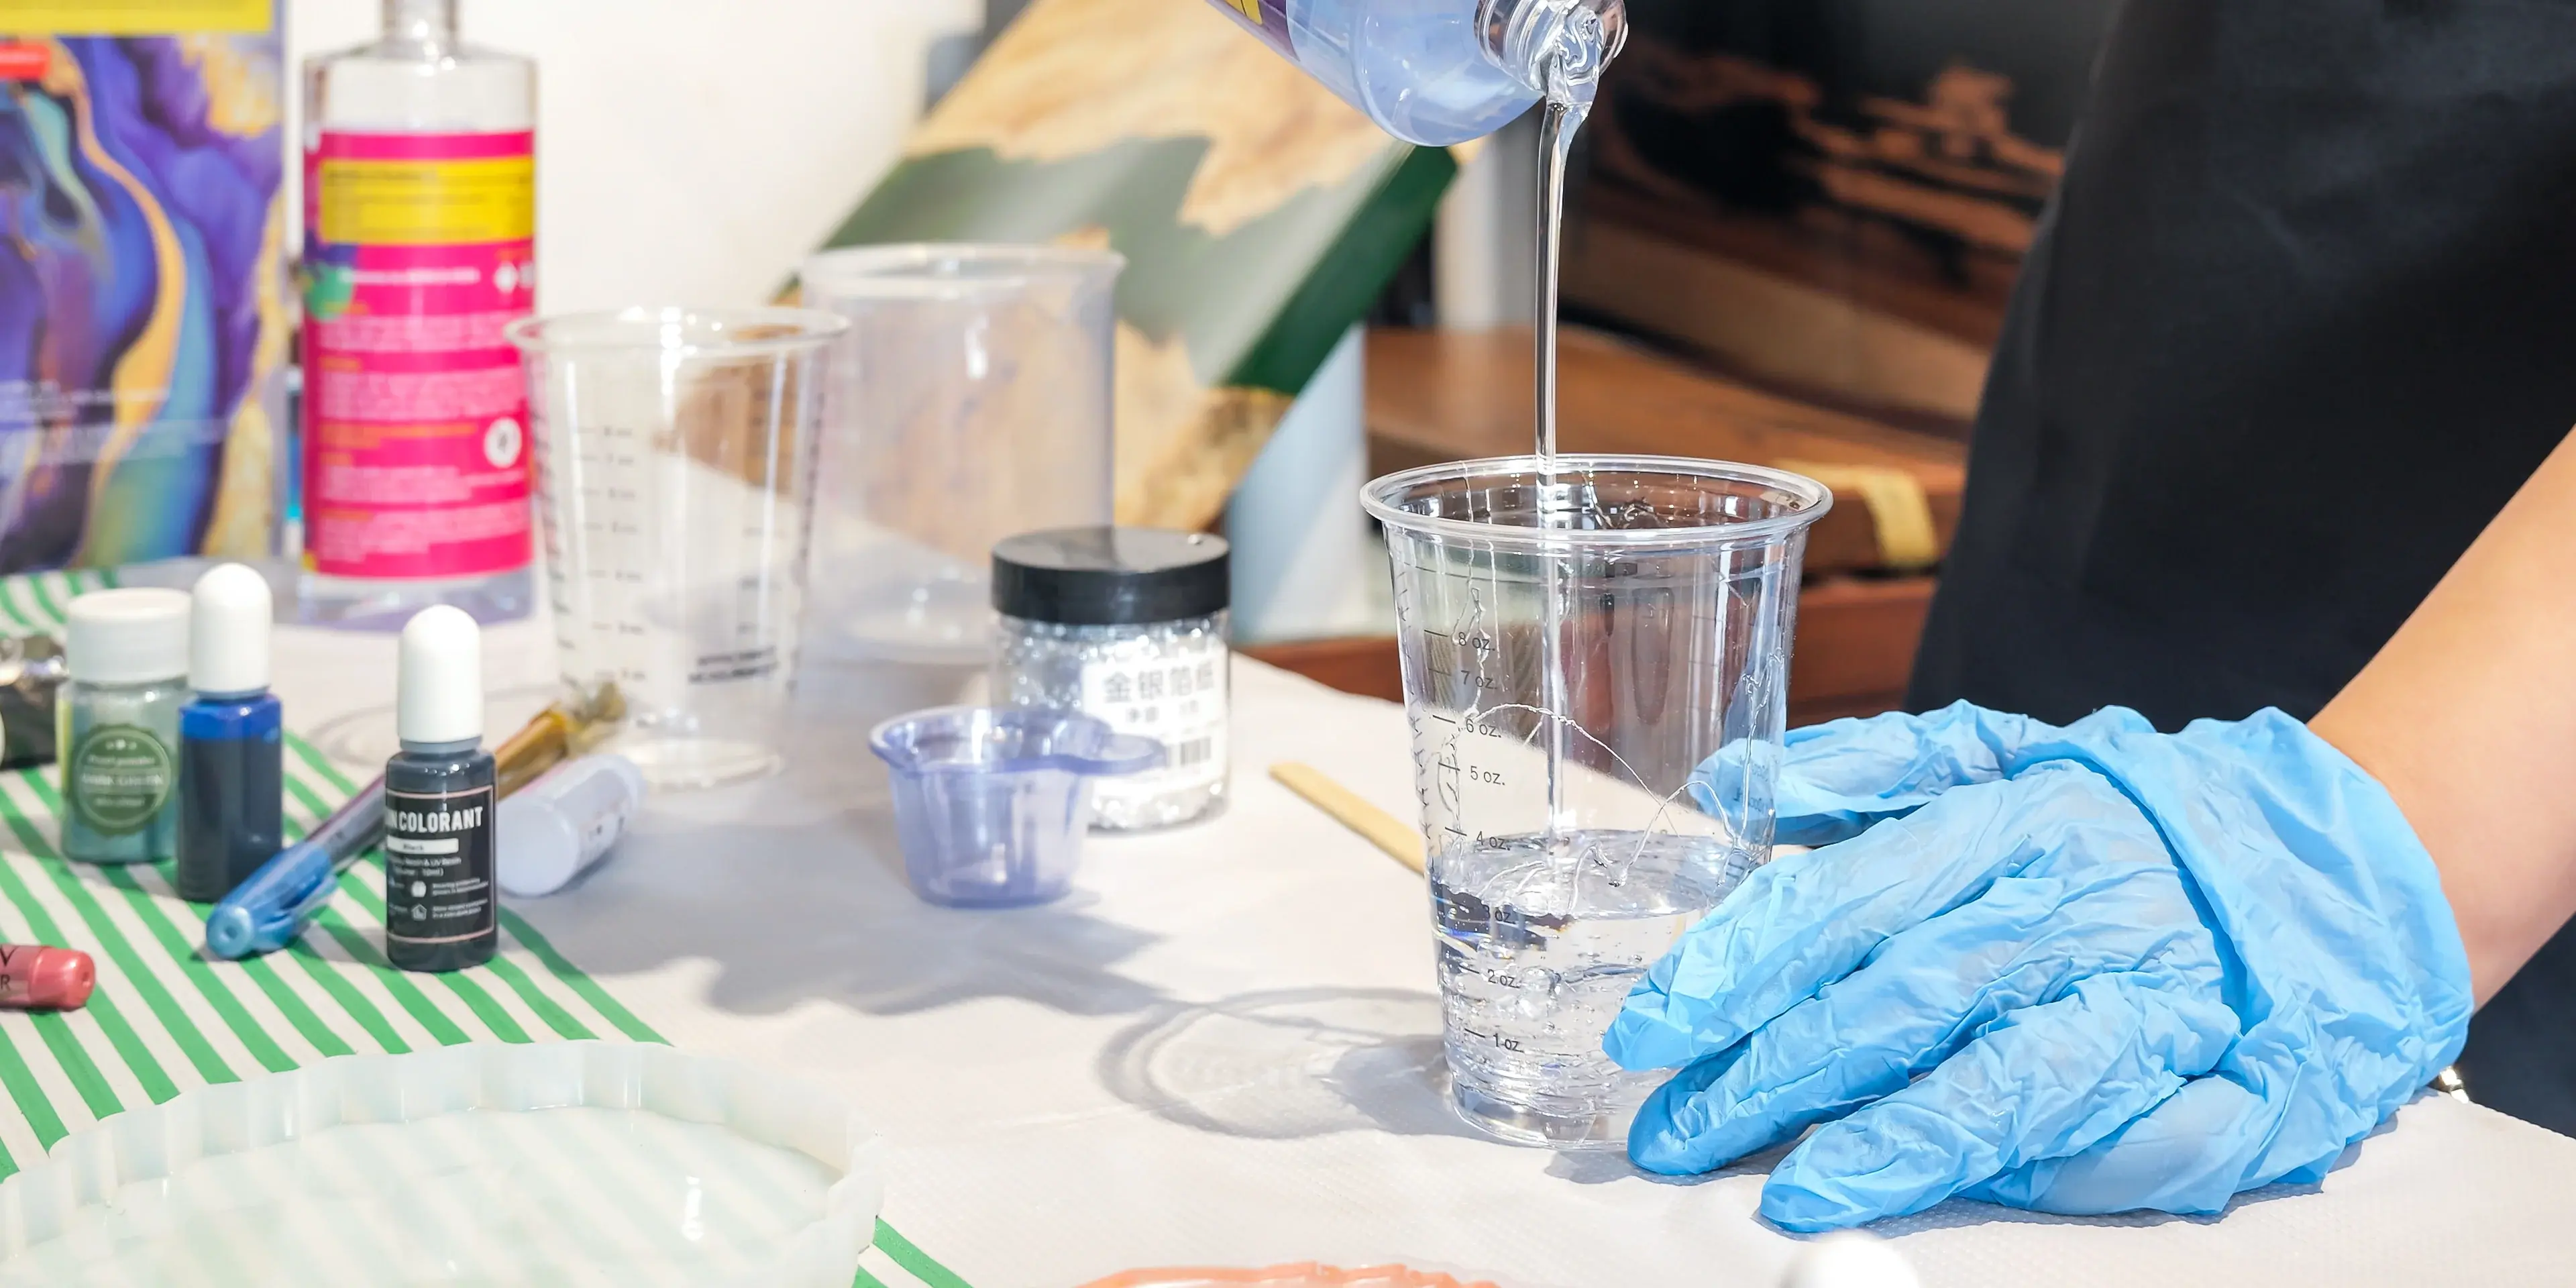
Step 2: Measure the Resin and Hardener
Bondcraftor epoxy resin requires equal parts of resin and hardener. Accurate measurement is critical because it ensures proper curing. Use clear, graduated mixing cups to measure the two parts. If you mix too much resin or too little hardener, the epoxy may not cure correctly. By carefully measuring, you set the foundation for a successful project.
Step 3: Mix Thoroughly
Once you combine the resin and hardener, stir slowly but consistently for several minutes. Scrape the sides and bottom of the cup to ensure a complete blend. Small bubbles may form during mixing, but they are normal. Bondcraftor epoxy resin is designed to self-level and release bubbles during curing, so you can trust it to create a smooth surface.
Step 4: Pour the Resin
Now comes the fun part—pouring the epoxy onto your project. If you’re coating wood, pour in thin, even layers. For molds, fill them slowly to avoid trapping air. Bond craftor epoxy resin flows easily, making it perfect for river tables, coasters, jewelry, or art canvases. The resin naturally levels itself, reducing the effort needed to spread it evenly.
Step 5: Remove Air Bubbles
To achieve a flawless finish, remove any air bubbles. Use a heat gun, torch, or even a simple hairdryer set to low heat. Pass it lightly over the surface, and the bubbles will rise and disappear. Bondcraftor epoxy resin responds well to this technique, giving your piece a professional-quality look.
Step 6: Allow to Cure
Curing time is one of the most important steps in working with epoxy. Place your project in a dust-free area and let it sit undisturbed. Depending on temperature and thickness, Bondcraftor resin typically takes 24 to 48 hours to cure fully. Avoid touching the surface during this period to prevent fingerprints or marks. When cured, the surface will be glossy, durable, and resistant to scratches.
Tips for Best Results
Using Bond craftor epoxy resin is simple, but a few extra tips can take your projects to the next level:
-
Control Room Temperature: Aim for 70–75°F (21–24°C) for ideal curing.
-
Add Pigments or Glitter: Bondcraftor resin mixes easily with colors for custom designs.
-
Work in Thin Layers: For deep pours, apply resin in layers instead of one thick pour.
-
Seal Porous Surfaces: Wood and similar materials should be sealed with a thin resin coat before the main pour.
-
Protect Your Work: Cover projects while curing to prevent dust or debris from settling.
These simple practices ensure your finished product looks professional every time.
What Can You Make with Bondcraftor Epoxy Resin?
The possibilities are endless with Bondcraftor. Here are just a few projects that use Bond craftor epoxy resin:
-
Furniture: River tables, countertops, and bar tops with glass-like finishes.
-
Art: Abstract paintings, wall art, and decorative panels.
-
Jewelry: Rings, pendants, and charms created with silicone molds.
-
Home Décor: Coasters, trays, and clocks with embedded objects or pigments.
-
Repairs: Filling cracks in wood or coating damaged surfaces for restoration.
Because of its versatility, Bondcraftor epoxy resin works for both functional items and artistic creations.
Why Bondcraftor Is the Right Choice
Many resins exist in the market, but Bondcraftor has built a reputation for reliability. The brand focuses on quality control, so every batch delivers consistent results. By choosing Bond craftor epoxy resin, you invest in a product that values both performance and creativity. Whether you’re a DIY beginner or a professional craftsman, Bondcraftor provides the confidence to experiment and succeed.
Conclusion
Learning how to use epoxy resin can feel intimidating at first, but with the right product and clear steps, it becomes a rewarding experience. Bondcraftor simplifies the process by offering resins that are easy to mix, pour, and cure. From preparation to curing, the brand ensures that anyone can achieve professional-quality results.
So, how do you use Bond craftor epoxy resin? You prepare your space, measure carefully, mix thoroughly, pour with patience, and allow time to cure. With Bondcraftor by your side, every project becomes an opportunity to create something durable, functional, and beautiful.
