
Maintaining the pristine appearance of your car requires more than just a quick rinse. Car foam washing, a technique that has gained popularity among car enthusiasts and professionals, offers a thorough and effective way to clean your vehicle while minimizing the risk of scratches and swirl marks. In this comprehensive guide, we'll walk you through the art of car foam washing, providing step-by-step instructions to help you achieve a gleaming and well-protected finish.
1. Understanding the Benefits of Foam Washing:
Foam washing creates a thick layer of cleansing foam that clings to the car's surface, encapsulating dirt and grime. This encapsulation process helps lift away contaminants without the need for aggressive scrubbing, reducing the risk of scratches.
2. Gather Your Supplies: What You'll Need:
Collect the necessary tools and materials, including a foam cannon or foam gun, high-quality car wash soap, a pressure washer, two buckets (one for soapy water and another for rinsing), microfiber wash mitts, and drying towels.
3. Pre-Wash Preparation: Rinse and Degrease:
Begin by rinsing your car with water to remove loose dirt and debris. If your car has stubborn grime, consider using a degreaser to target areas like wheels and lower body panels.
4. Mixing the Foaming Solution: Creating the Perfect Foam:
Follow the manufacturer's instructions to dilute your chosen car wash soap with water in the foam cannon or gun. The right dilution ratio ensures the ideal foam consistency.
5. Applying the Foam: Thick, Luxurious Lather:
Using the foam cannon or gun, apply the foaming solution generously to the entire vehicle, starting from the top and working your way down. Allow the foam to dwell for a few minutes to break down dirt and contaminants.
6. Gently Agitating the Foam: Loosening Contaminants:
After the foam has dwelled, use a clean, soft-bristle brush or wash mitt to gently agitate the foam. This step helps further dislodge dirt and grime without causing scratches.
7. Two-Bucket Wash Technique: Ensuring a Clean Wash:
Use the two-bucket method to prevent cross-contamination. One bucket contains soapy water for the wash mitt, while the other is filled with clean water for rinsing the mitt.
8. Washing the Car: Methodical Approach:
Starting from the top and working your way down, wash each panel using the wash mitt. Be gentle and avoid applying excessive pressure. Rinse the mitt in the clean water bucket after each panel.
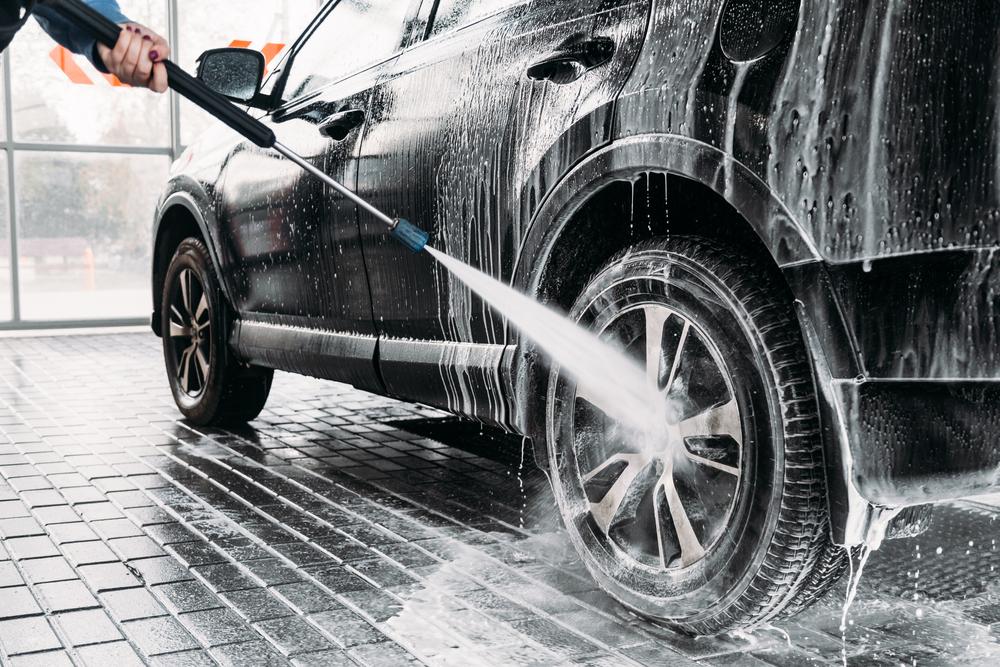
9. Rinsing Off the Foam: Thorough Removal:
After completing the wash, use a pressure washer or hose with a gentle spray pattern to rinse off the foam, starting from the top and working downward.
10. Drying the Car: Preventing Water Spots:
Use clean, microfiber drying towels to gently blot and dry the car's surface. Avoid rubbing, as this can lead to micro-scratches.
11. Post-Wash Protection: Waxing or Sealing:
Consider applying a protective wax or sealant to maintain the freshly cleaned appearance and provide an additional layer of defense against the elements.
12. Regular Maintenance: Sustaining the Shine:
Incorporate foam washing into your regular car maintenance routine. It not only maintains your car's appearance but also contributes to its long-term preservation.
Conclusion:
Car foam washing is a skillful technique that combines effective cleaning with protection against surface damage. By following this comprehensive guide, you'll not only achieve a showroom-worthy finish but also enjoy the satisfaction of caring for your vehicle with attention to detail. The art of car foam washing ensures that your car not only looks its best but is also well-cared-for and ready to shine on the road.